

Background to the Battle

Though not a major world power, Australia was a significant contributor to the Allied cause. Her soldiers were fighting alongside the British in North Africa. Her fleets sailed alongside the Americans in the Pacific. She was an important part of the trade and supply network that kept American forces in action against Japan. The Allies needed to stop the Japanese before they gained control of the whole of the western Pacific.
The Fleets
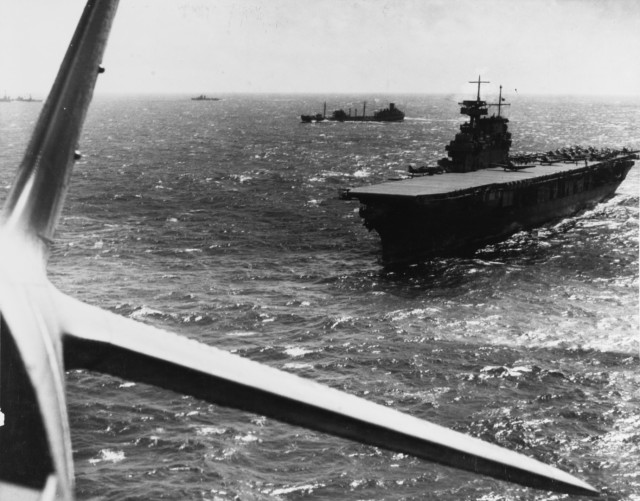
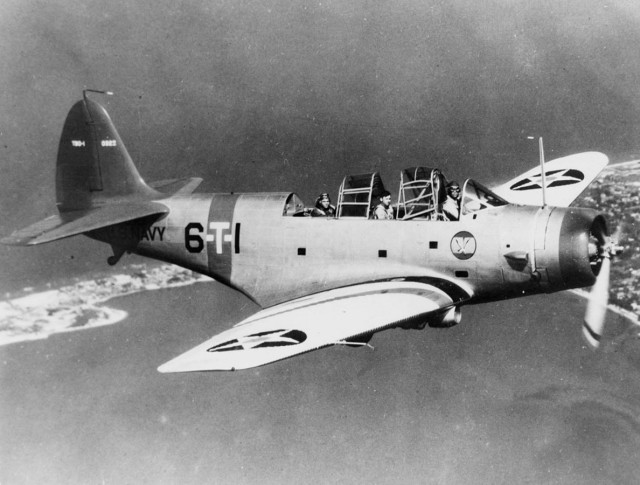
They carried three types of aircraft – 72 obsolete Douglas SBD-2 Dauntless dive-bombers; 36 Douglas TBD-1 Devastators, torpedo bombers with a poor ‘climb’ and limited range; and 36 Grumman F4F-3 Wildcat fighters, whose role was to counter enemy aircraft and protect the bombers. The planes from the Yorktown carried new equipment to help identify friend from foe in the chaos of aerial combat.
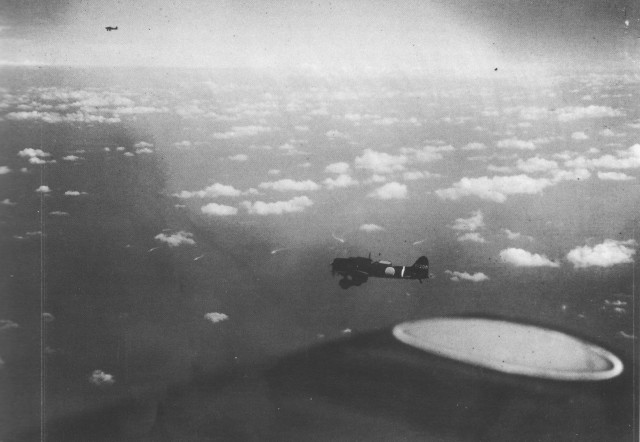
Opposing them was Rear-Admiral Takagi’s force – the aircraft carriers Shokaku and Zuikaku, both veterans of the Pearl Harbor attack, two cruisers and a destroyer screen. On the Japanese carriers were 42 Aichi D3A Val dive-bombers, 41 Nakajima B5N torpedo planes, and 42 Mitsubishi A6M5 Zeros to provide fighter cover. These planes were technologically superior to those of the Americans.
Finding the Fleets
Takagi sailed his fleet west to find the Americans while an invasion force under Rear-Admiral Kajioka headed towards the Coral Sea and its eventual destination of New Guinea. Over the next two days, scout planes sporadically spotted the opposing fleets, but there was no further bombing, only positioning.
7 May – Carrier Combat Begins
Meanwhile, a smaller mixed Australian and American fleet under Rear-Admiral Crace blocked the invasion fleet’s advance at the Jomard Passage. Takagi’s torpedo planes tried to attack this fleet, but it was protected by poor weather and Wildcats from the Lexington. Nine bombers were destroyed for the loss of two fighters, and the Japanese planes retreated without hitting the fleet.
With Crace still blocking the passage, the vulnerable invasion fleet was forced to withdraw.
Now it was down to Fletcher and Takagi to fight for control of the Coral Sea.
8 May – The American Attack
Arriving at the Japanese fleet around 1030, the first American planes hid in the clouds while they waited for the rest to arrive. As the Shokaku emerged from beneath cloud cover the Americans descended.
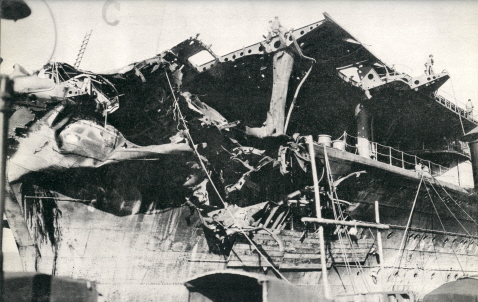
Japanese fighters rose to disrupt the American attack while the Shokaku weaved rapidly through the sea to throw off her attackers. Only two bombs hit, and none of the torpedoes found their mark. But those two bombs were enough to make the flight deck unusable, preventing more fighter launches, and to start a fire that spread through the ship. The Shokaku was forced to retreat while its planes transferred to the untouched Zuikaku.
8 May – The Japanese Attack
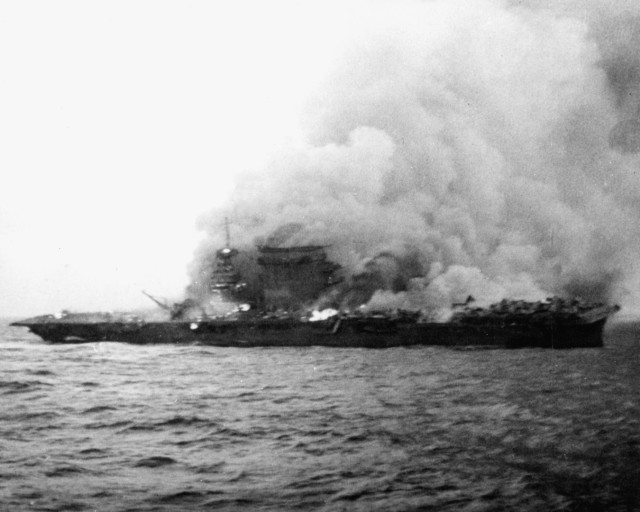
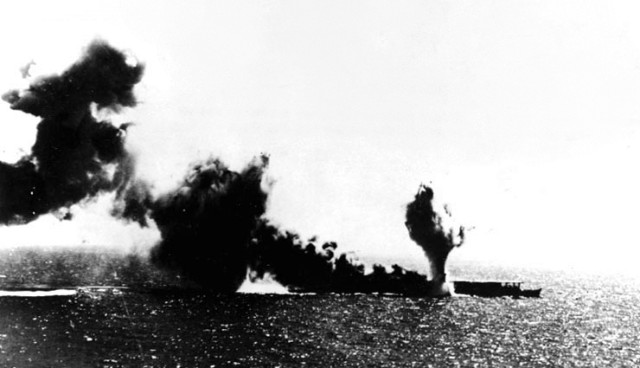
The Yorktown dodged the first wave of attacks, but a bomb from the second wave punched through the flight deck and set the ship on fire. The Japanese then turned their attention to the Lexington. Hits from two torpedoes and two bombs left the ship listing badly and with her boiler rooms flooded.
Aftermath
Between planes shot down and those that had to be ditched because they could not land on the Shokaku, the Japanese lost 80 planes, while the Americans lost 66. 900 Japanese sailors and flyers were dead, compared with 543 Americans.
Escaping fuel caused two massive explosions on board the Lexington. As fires spread, the crew abandoned ship, and she was finally sunk by torpedoes from an American destroyer.
The Battle of the Coral Sea was a ground-breaking action but did little to turn the tide of war. Neither side suffered significantly greater losses in men and planes, and both saw carriers crippled. The invasion fleet was turned back but not destroyed. The advance on New Guinea would continue.
Δεν υπάρχουν σχόλια:
Δημοσίευση σχολίου